Showing posts with label cooking. Show all posts

Thursday, 28 May 2015

The Best Scrambled Eggs Ever

If you've visited this blog before, you'll know I sometimes struggle to eat eggs. I'm not a giant fan of their taste, but as such a great source of protein I'm always trying to find new ways to tart them up. 
Easier to put together than my yummy breakfast muffins, I reckon these scrambled eggs have cracked it. (Sorry!)


In the picture above, I've served my eggs on a toasted slice of ProFusion Protein Bread. It's made with flax seeds, wheat and milk protein and rye flour and works out to about 5g of carbs per slice. You can get it in The English Market. 

The Best Scrambled Eggs Ever (Serves 1)

Ingredients

2 Medium Eggs
Generous Knob Of Butter
Tablespoon Cream Cheese
Salt & Pepper

Method

1. Turn your stove/ hob on at a medium heat.

2. Crack two eggs into a small saucepan and add the butter.

3. Place over the heat and stir with a spatula. Don't use a whisk.

4. Continue stirring until the eggs begin to thicken and bind together as one. It usually takes about 90 seconds-2 minutes to get the right consistency.

5. Take the saucepan off the heat and add the cream cheese. Stir until completely mixed.

6. Season with salt and pepper. Serve!

These creamy eggs are tasty enough to eat alone, but to avoid samey-ness I like to mix it up from time to time. Here are a couple of my favourite variations:


  • Add a pinch of chili flakes when stirring in the cream cheese, skip the salt and pepper.
  • Fry off some bacon, finely chop 1 spring onion and mix into the eggs.
  • Sprinkle with grated cheese before serving.
  • Fry a bunch of cherry tomatoes on the vine, then mix into eggs before serving.

Monday, 30 March 2015

Fillet Steak

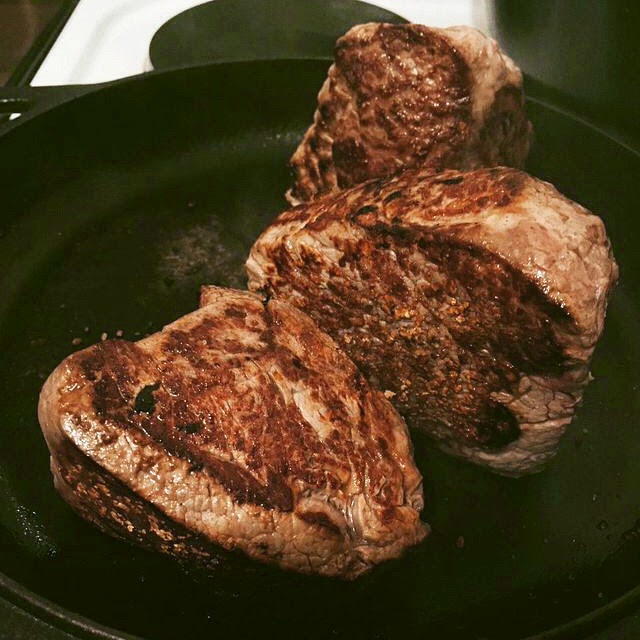
I just had to share this mouth-watering snap of last night's fillet steak, fresh from Tom Durcan's stall in The English Market.

These beauties were blotted with kitchen paper and sprinked with sea salt to help dry the meat out.

Preheat the oven to 90C/195F. Then heat your frying pan to smoking point- I use a heavy cast iron pan which means I don't need to add any oil.

Once the pan is super hot, each steak gets 2 minutes on either side. Don't move it around in the pan, just let it sit where you've placed it.


Then I popped the steaks into the oven and pushed the needle of my indespensible meat thermometer to the centre of the thickest steak. I like mine to be pink through, so aim for a centre temperature of 54C/130F. S likes some red in the centre of his, so we'll usually take his out at 51C/124F.

I know this all sounds a bit mental, but just a couple of degrees can make such a difference!

Let your steak sit for a minute or two before cutting into it. You shouldn't get any blood running out if you dry the meat beforehand and use this cooking method.

Did you know you can order Tom Durcan's meats for delivery to anywhere in Ireland and the UK? Visit their site for more details, you can also follow them on Twitter or Facebook.


Sunday, 16 November 2014

Low Carb & Gluten Free Pizza

Pizza is part of that universal food type- a flat piece of carbohyrate as a convenient delivery system for meat and/or vegetables. It's something I love, particularly on a Friday night when I'm starting to unwind and it's something that I don't want to have to go without. I've tried and disliked the cauliflower pizza base- this one is far closer to the 'real thing'.

As part of my neverending quest to treat low carb as a way of life, not a punishment, this recipe is a big deal to me!


Ingredients
2 Cups Grated Mozzarella
2 Tablespoons Cream Cheese
3/4 Cup Almond Flour/ Ground Almonds
Pinch Salt
1 Large Egg
Pinch Black Pepper
Garlic Powder

Your choice of toppings.

Preheat the oven to 180/350 degrees.

Method
1. Put the grated mozzarella and cream cheese in a microwavable bowl and heat on high for 1 minute. Take it out and stir well, then pop it back in for another 30 seconds.
It should look something like this:


2. Once the cheese is done, mix in the almond flour, egg, salt, pepper and garlic powder as quickly as you can. Mix well until it binds like a dough.
You'll see differences in the colour of the dough where there the cheese & dry indredients aren't well combined. Aim to get it as even a colour all-over as you can.


Place the dough on a baking tray. I've found the best results are achieved with a silicone pat on the baking tray.

4. Use your fingertips to gently push out the dough into an even layer with no holes. The dough will be quite sticky, so wetting your fingers with cold water will help make it easier to spread.


5. Prick the dough allover with a fork to stop air bubbles forming. Bake at 180/ 350 degrees for 5 minutes. Then take it out and prick again with a fork. It'll look a little more solid:


7. Put it back in for 6 minutes and then it should come out looking something like this:


8.  Now, add your toppings! My go-to combination is passata, grated mozzarella and chedder mixed, pancetta and pepperoni from Iago.
If using a tomato sauce, spread it thinly so it doesn't make the base soggy. I usually use Bunalun organic passata as it is relatively lower in carb than other shop-bought sauces.


Note: I've found that you get a crispier base if you can transfer it from the solid baking tray to one with holes before adding your toppings. It's not the end of the world if you don't have one, but I'd recommend investing if you like your pizza crispy!

For something a little different, try adding chilli powder or mixed herbs to the dough. Add some creative toppings and your base can set the scene for some pretty interesting flavour combinations.

With the ingredients I use, each full pizza works out to about 10 carbs. However, I'm not your mama so if you're counting carbs for weight loss make sure to do your own calculations!

Wednesday, 12 November 2014

Teriyaki Beef Salad

Trying to keep salads varied and interesting can be tough, especially if you're having them for both lunch and dinner. For me, this teriyaki beef salad is a real winner.
If you can, plan ahead and allow the beef to marinate overnight for the full flavour experience.


Ingredients
For the marinade (makes enough for 2 steaks):
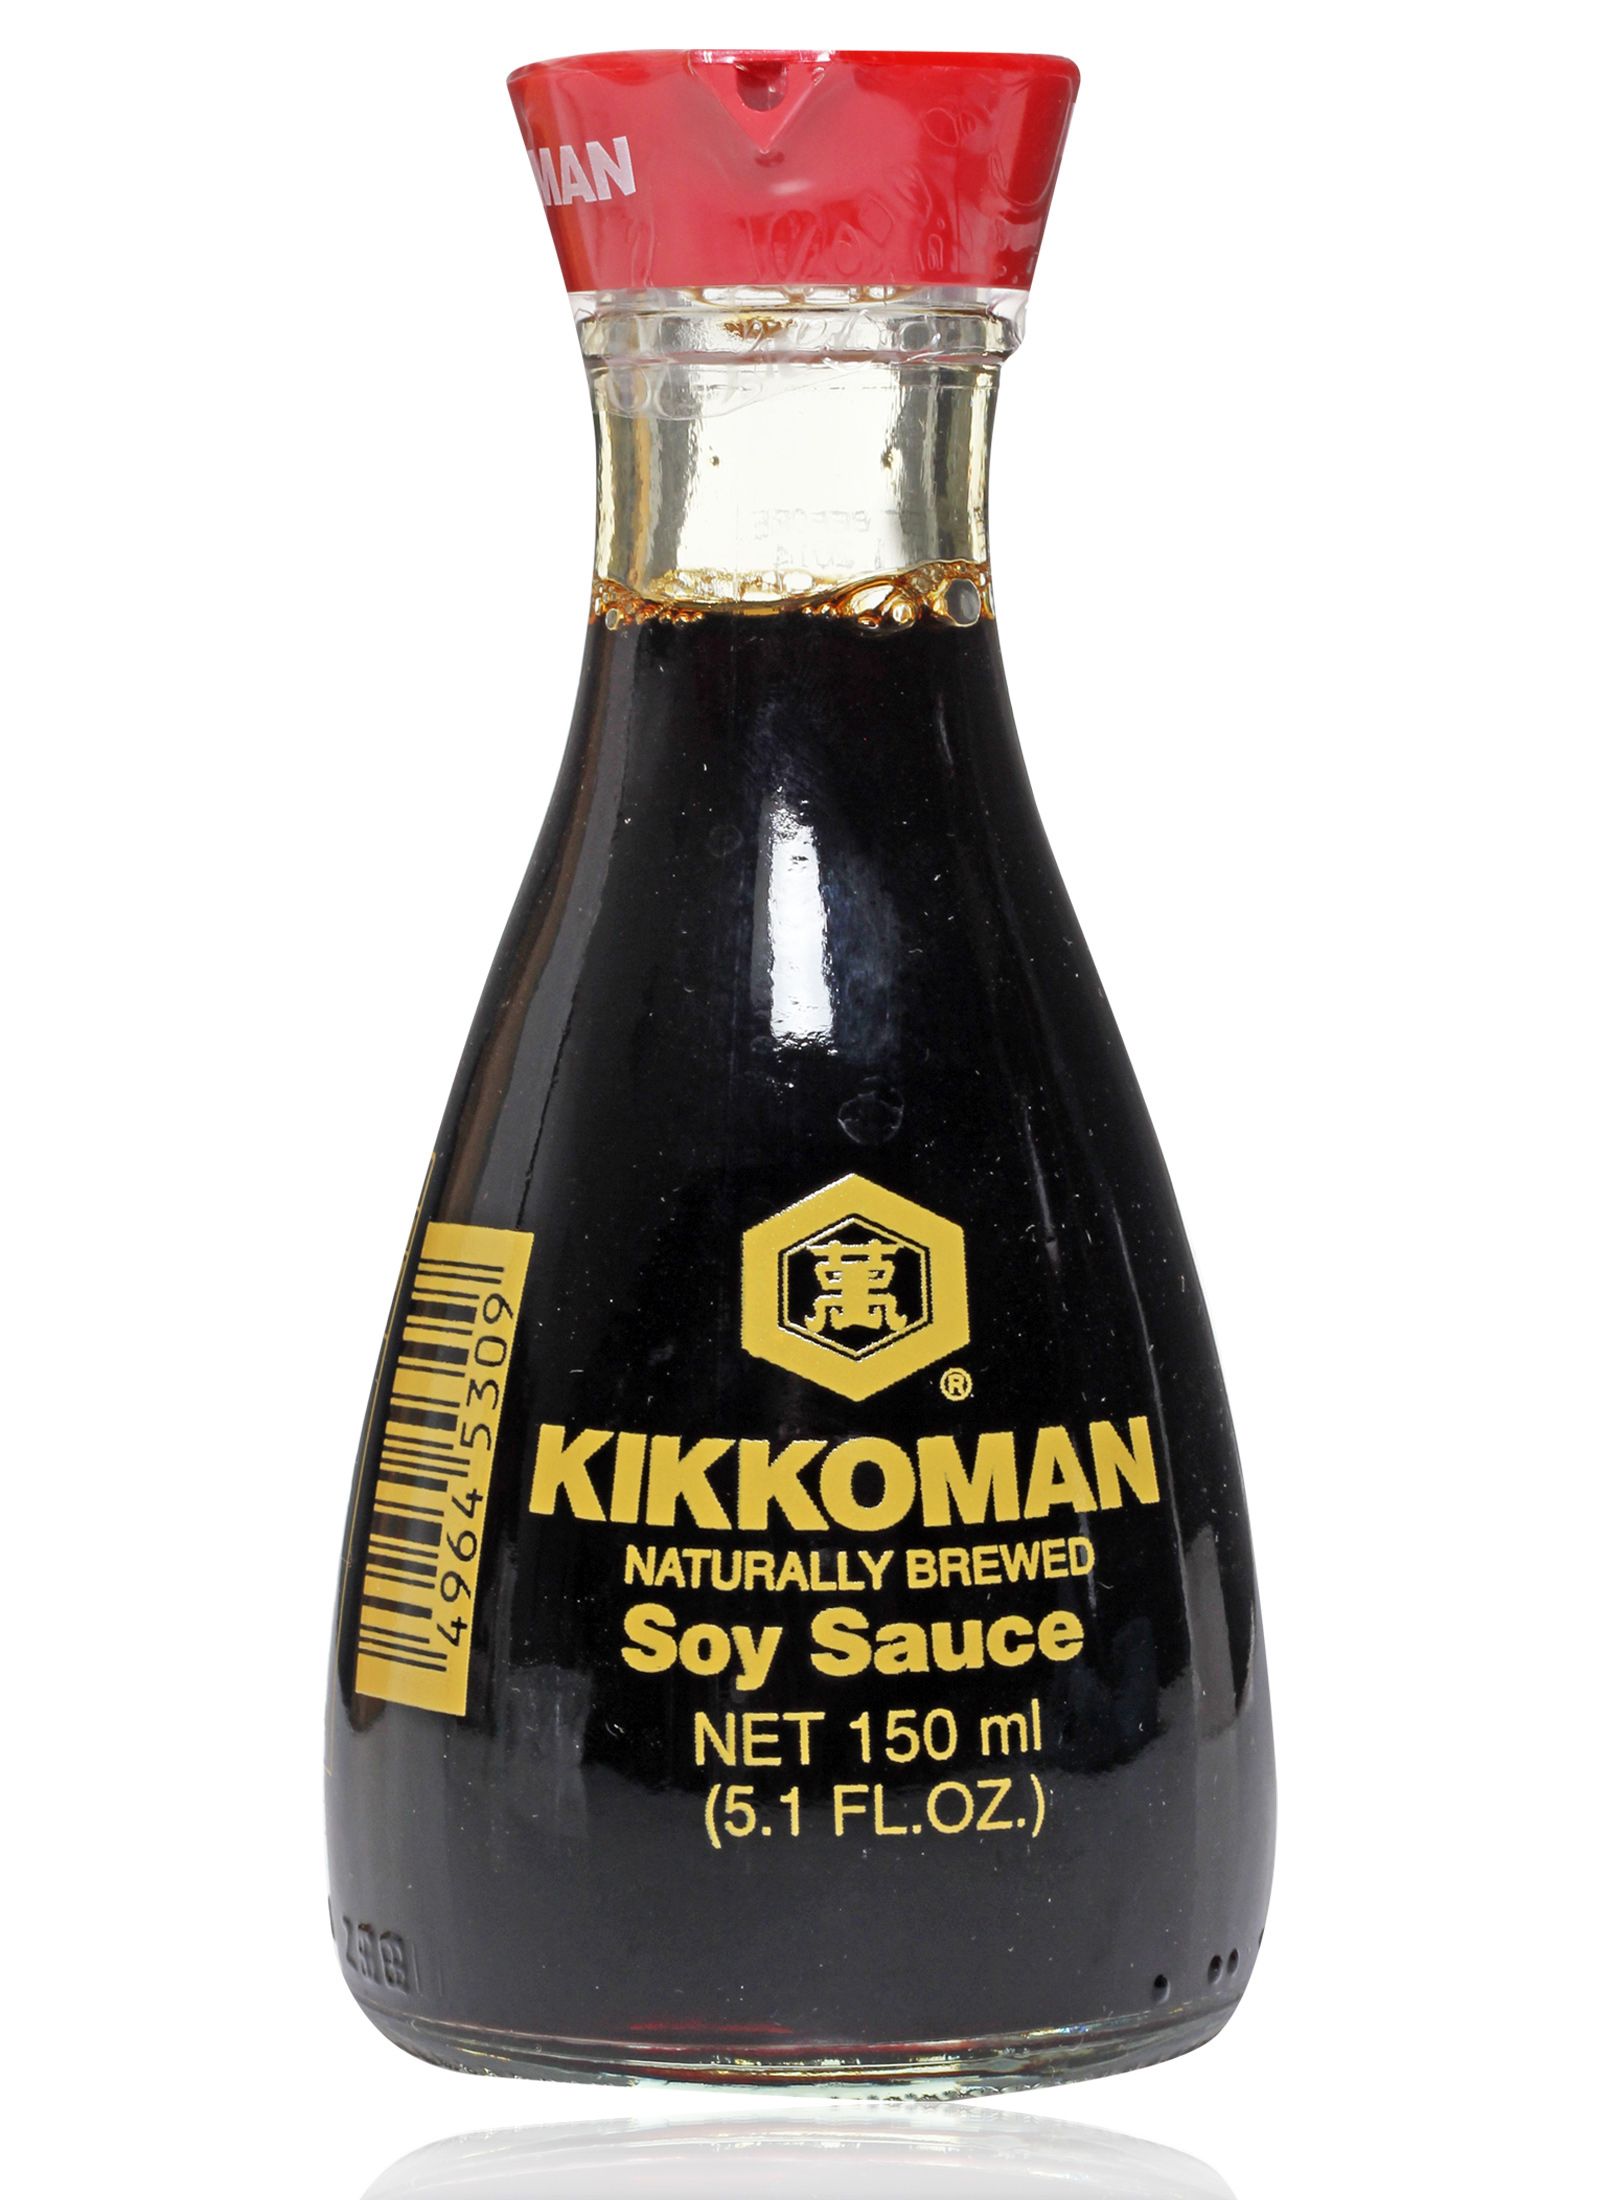
1 cup soy sauce (soy sauce can be surprisingly high in sugar. if you can find a sugar free version go for it, otherwise try the Kikkoman brand.
1 cup water
3/4 cup Stevia or other sugar alternative
1/4 cup Worcestershire sauce
3 tablespoons distilled white vinegar
3 tablespoons vegetable oil
1/3 cup dried onion flakes
2 teaspoons garlic powder
1 teaspoon grated fresh ginger

For the salad:
Handful of Rocket
Thinly sliced Radishes
Thinly sliced Cucumber

1 striploin steak per person (about 1/2 inch thickness)
1 teaspoon of sesame seeds to garnish

Method
1. Mix all the marinade ingredients together in one bowl. Place your steaks in a plastic freezer bag and pour over with the sauce. Tie off the top of the bag and shake well to ensure an even coating.

2. Ideally you'd allow the steak to sit in the bag overnight in the fridge. If time is scarce then just an hour or two in the fridge will be okay, but to get the best of the flavours plan ahead and give it the full night!

3. After marinating, take the steaks out of the bag and save the leftover marinade.

4. Heat a small amount of vegetable or peanut oil in a hot frying pan and sear the steaks on both sides. Give it 3-4 minutes per side for a medium-done steak.

5. After frying, wrap the steaks in tinfoil and allow to stand.

6. Add the leftover marinade to the hot pan and allow to simmer for a minute or two. It should reduce to a nice thick sauce that you can dribble over.

7. Slice the steak and erve with a simple salad, for me the rocket/ cucumber/ radish combination is perfect with this steak. Pour over your marinade reduction and garnish with the sesame seeds for a little crunch.


Saturday, 15 February 2014

Low Carb Fries (Chips)


Sometimes you really just need a big pile of fries to make a meal perfect. But with 15g of carbohydrates per 100g of potato, it's not an option for someone eating a low carb diet. Enter the turnip. With just over 4g of carbs per 100g, it's the perfect option for making a crispy serving of keto-friendly chips.


Now, I know what you're thinking. Turnip? Ew. Your Mum made you eat it mashed with boiled ham and soggy potatoes on Sundays. Gross.
I'm not going to lie to you- they don't taste exactly like potato chips. Hold on, don't leave yet- hear me out!

The cinnamon takes some of the turnipyness away, while the parmesan and oil give the chips a lovely crisp coating. Each one is a treat to bite into, particularly when you haven't had potato fries in months. Trust me, try these once and you'll never look back.

Serve with a juicy steak or, if you're really looking for some comfort food, a gorgeous cheese-filled beef burger.

Ingredients
1 Turnip
3 Tablespoons Dried Grated Cheese (I used Castelli which is a mixture of hard cheeses)
2 Tablespoons Fresh Grated Parmesan (I used this one from Tesco)
1 Teaspoon Cinnamon
Olive Oil
Salt & Pepper

Method

1. Preheat the oven to 200C/390F.

2. Chop the turnip into chunky chip-size slices, about a half an inch thick. Place in a mixing bowl.

3. Coat evenly with about a tablespoon of olive oil. For easy all-over coating, I love this Filippo Berio spray.

4. In a separate bowl, mix the cinnamon, dried cheese, parmesan and a pinch each of salt and pepper.

5. Sprinkle about half the mixture over the turnip pieces and stir so the seasoning is well distributed. Add the other half and mix again. Try to make sure each fry has an even coating.

6. Space out evenly on a grease-proof sheet or baking tray, and place in the oven for 30 minutes, turning once during cooking. Once the fries have turned a lovely golden brown and crispy they are ready to come out.

7. While the chips are still hot, sprinkle over with a pinch or two of salt. Adding the salt while the oil is still hot allows it to cling easier to the fries, and makes them taste extra delicious.

Serve!

Monday, 20 January 2014

The Slow Laura Burger

Friday evening and the eternal question- what to have for dinner? After a busy, busy week I was certainly not in the mood for anything boring or blaaaaaah. I wanted flavour, sensations, craziness!

These amazing burgers are a version of the Slow Larry as cooked by The Rivestaurant.


Constraints on my time and availablity of some of the ingredients at short notice meant that the following recipe is an approximation of the culinary genius you can watch at the link above. 

The original recipe calls for a mixture of beef and pork mince, but unfortunately I could only get beef. I've made gorgeous meatballs with a mixture of beef and pork several times, so I'd imagine the burgers would be awesome. But these turned out pretty darned tasty nonetheless. Next time though, I will certainly be trying it his way.

Recipe for the Slow Larry, done my way: The Slow Laura
Makes 4 giant burgers.

Ingredients 

800g Minced Beef
250g Streaky Bacon
1/2 Block of Cheddar cheese, grated
1/2 a white onion, finely diced
1 Medium Egg
1 Tablespoon Paprika
1 Tablespoon Barbeque sauce - I used the Jack Daniels Smokey sauce
1 Tablespoon Garlic Powder
Salt & Black Pepper
Jalapeño Slices- I used these Discovery ones 

Method

1. Fry off the streaky bacon in a little bit of oil. I use steamed coconut oil from Biona, which is odourless and flavourless. Once lightly cooked, take off the heat and finely chop.

2. In a bowl, combine the minced beef, bacon, diced onion, egg, paprika, barbeque sauce and garlic powder. Add a good pinch of salt and pepper. Mix these ingredients well, using your hands if you don't mind that.

3. Now for the cheese filling. Put the grated cheese in a bowl.

4. The jalapeño bit: The Rivestaurant roasted their jalapeño before mashing it, but in Tesco at 7:30 Friday night there wasn't a fresh jalapeño to be found. 
I had a jar of Discovery jalapeño slices at home, so in a pinch these would have to do. De-seed and mash about two tablespoons worth of flesh and add these to the cheese. Though this tasted great, next time I'm going to try to roast it.

5. Mix the cheese and jalapeño well, don't be afraid to sqeeze it and get it all mushed up. Just don't then touch your eyes without washing first.

6. Next I took the full bowl of minced beef, and divided the mixture into half, then half again so I had four equal-sized balls of meat.

7. On a clean work surface or cutting board, slap down one of the balls of meat. Press down on it and even it out so it's in a very large circular patty. Make the patty double the size you would make a burger.

8. In the centre of the patty place a small handful of the cheese and jalapeño mixture. It might be a good idea to divide the cheese mixture into four pieces before you begin stuffing burgers, so you end up with an even spread.

9. Carefully curl up the edges of the patty around the cheese mixture, covering it completely. Make sure there are no gaps for the cheese to seep out of. You can see exactly how The Rivestaurant do it here.

10. Once all your burgers are formed, place under the grill for about 15 minutes in total. I turned them once during cooking and they didn't break open but be fairly careful with them.

11. Serve! 

The Rivestaurant have a couple more recipes for sides to go with this dish, but at that time on a Friday I wasn't getting into all that. We had ours with a giant pile of mixed greens and a couple of sauces I knocked together.

12. Bonus Step: Dips
To make your dips, put three tablespoons of mayonnaise in three bowls. 
Into one I added a teaspoon of French's mustard, into another I added a teaspoon of Encona West Indian Hot Sauce, and into the third I added Mexican tinga paste, which contains chipotle chilli flakes. This gives you a great range of flavours to choose from with every bite.


Monday, 6 January 2014

Olive Oil

I came across this Filippo Berio olive oil spray in Tesco last week. It's a great idea, the spray is very handy and a couple of pumps dispenses the perfect amount for shallow frying.


It's a good quality oil which means it has a high smoking point, and is perfect for frying pancakes, bacon and steak. The cap screws off, so you can refill the bottle once the oil is gone.

Tuesday, 1 October 2013

Welcome To Low Carb Cork

This blog is a collection of recipes and tips I've collected over the course of my transition to a low-carbohydrate diet.

People typically think of a low-carb diet as consisting mainly of unhealthy, samey fried meats day in, day out. This blog shows the many varied, delicious and healthy meals you can put together while avoiding unnecessary sugars. And some of those fried meats too.

Some of these recipes have come from friends and family, some I've picked up from TV, books, other blogs. Some are just experiments I've come up with over the course of switching to a low-carb diet. A little bit of trial and error later, what is posted here is the end result. I'll also try to include local recommendations for other ketoers in the Cork area.

A lot of the information and ideas come from S, who is at this stage a low-carb expert and my keto spirit guide.

What is a low-carb diet?

Carbohydrates in the form of sugars and starches come from foods like potatoes, grains, (most) fruits, pasta, rice, breads, sugary drinks and cereal. A typical diet will burn carbohydrates for energy and convert the left-over carbs into stored body fat.

Eating low-carb food removes sugar and starch from the diet, and forces the body into a state called 'ketosis'. In ketosis the body will instead burn fat for energy (including stored body fat). Ketosis is a much more efficient metabolic process and more in line with the diets of our ancestors than typical modern diets.

Typically, a low-carb diet for weight loss should contain less than 20g of carbohydrates per day. This does not include dietary fibre, which is passed through the body. If you're at a healthy weight but want to cut back on your carb intake, the recommended level is about 50g per day.

Even if you are not trying to lose weight, eating meals made up of low carbohydrate ingredients can help health issues from asthma and arthritis to PCOS and diabetes. If you are interested in finding out more, the keto thread on reddit is a great source of information.

Once you start to take notice, you will be shocked at how many every-day foods contain sugar.

Beautiful West Cork


What can I eat?

You can eat as much as you want of dark green leafy vegetables, small amounts of high-water content veg such as peppers and cucumber, red meats, white meats, fish, offal, eggs, seeds & nuts, full-fat dairy (including cream and cheese, but no milk) or anything else you can find rich in nutrition, fat, protein and fibre.

Stay away from any 'diet' or 'low-fat' products- these contain man made chemical compounds which often consist of sugars.

If you like a drink, stick to spirits with tonic water or sugar-free mixers. Dry red wines like syrah or cabernet sauvignon are also a great option, with about 2-3g of carbs per glass.


Any Tips?

If you want to undertake a low-carb diet in order to lose weight, get some Ketostix (aka urinalysis strips). You can use these to test if you’re ‘in ketosis’ or not.
As long as you are in ketosis you will be burning your fat stores. If you fall out of ketosis, you'll have to go back into it again which means going through sugar withdrawl all over again.

It's very important to keep hydrated on a low-carb diet, so drink as much water as you can. Drinking a large glass as soon as you wake up will kick-start your system and boost your energy levels.

A Food Thermometer makes cooking steak, ham, roasts and chicken so much easier. It allows you to cook just about anything with little knowledge. Just stick it in the oven and wait for the beep.

Stevia is a natural sugar substitute plant extract. It looks and tastes like sugar and can be used in baking or added to tea and coffee.

Take some supplements. Green Tea Extract will increase the rate of weight loss and boost energy and Psyllium Husk is great fibre supplement to keep you regular and prevent diarrhea.


Disclaimer

And hey, I'm not a dietitian so don't be looking for detailed nutritional information. If you're trying to lose weight make sure to do your carb math based on the ingredients you use. I'm just posting recipes that I love, and that keep me on the dark end of the keto strip.

All oven temperatures are in degrees celsius, unless otherwise stated.